Gothic Look - Photoshop Tutorial

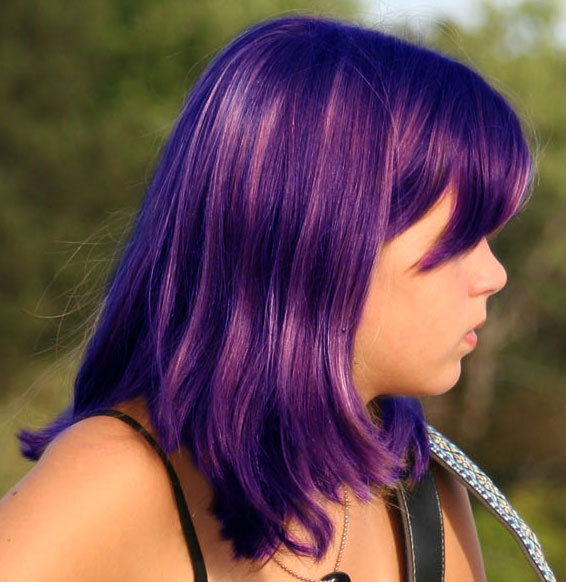
Use photoshop to give any photo a gothic appearance!
Instructions:

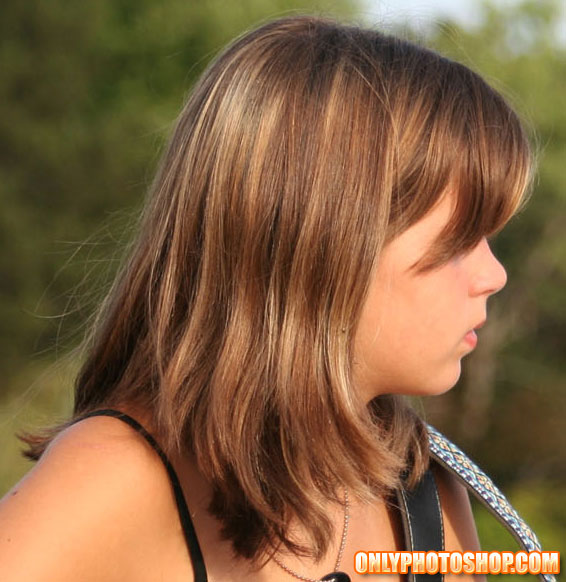
1. Open a color photo in Photoshop. Name this layer "Photo".


2. Duplicate the layer by dragging the layer to the "Create a New Layer" icon in the layers palette (or CTRL+J). Name the new layer "Black White".

3. With the "Black White" layer selected, goto Image > Adjustments > Desaturate. This will turn the layer to black and white.

4. Select the Eraser tool, zoom into the eyes and erase the eyes on the "Black White" layer so that the natural eye color from the "Photo" layer shows through.

5. Erase anything in the photo that is not the person's hair and skin. This could be the background, clothing, etc.

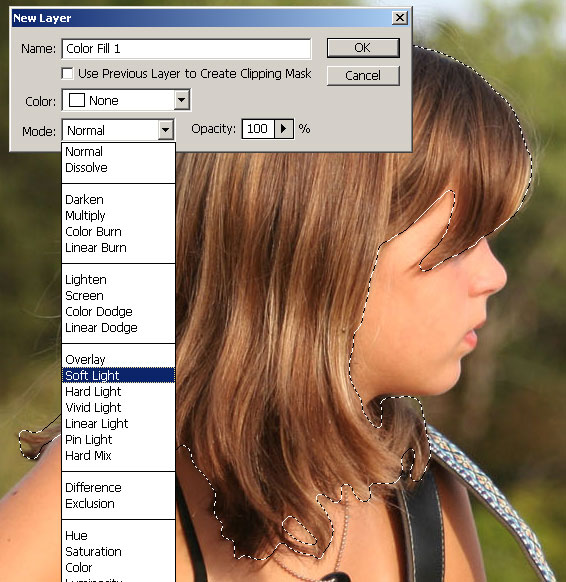
6. Create a new layer and call it "Make Up".

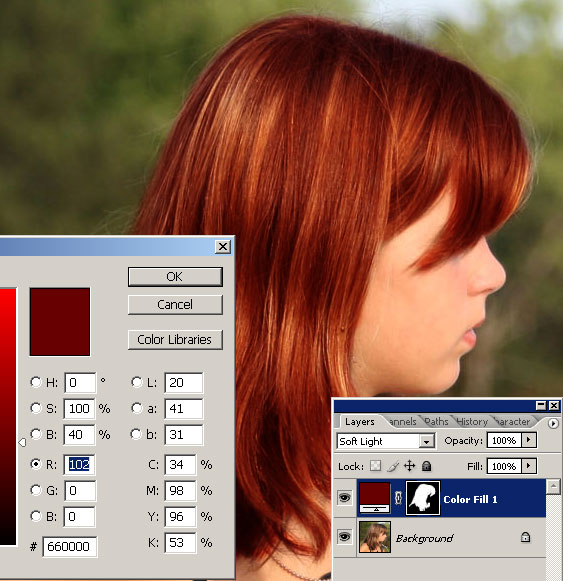
7. Choose a dark maroon color from the Swatches palette.
8. Select the Paint Brush Tool and set the opacity to 20%.

9. Paint the lips (on the Make Up Layer) so that they are a maroon color. Be sure not to lift your brush until the lips are completely filled in (this will ensure that you have the same even opacity over the entire lips).

10. Go over once or twice along the edge of the lips (don't make it too dark or the lipstick won't look real).


11. Next, click the "Edit in Quick Mask Mode" button.

12. Choose black from the swatches palette, then select the Paint Brush Tool. (Remember to check your opacity that it is set to 100% and that it is NOT 20% when you changed it in step 9).
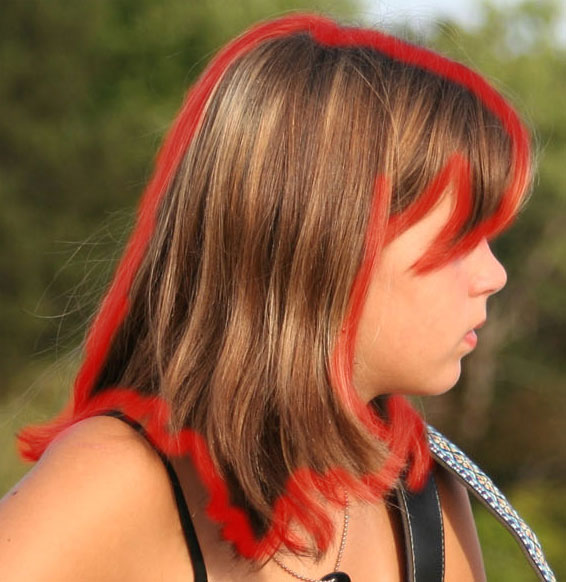
13. Begin painting in the hair. When you are in Quick Mask Mode, the color becomes a transparent red. You may need to zoom in and change brush sizes to get the edges and the smaller strands of hair.


14. When you're done, you should have the entire hair colored in the transparent red of the Quick Mask.


15. Now click the "Edit in Standard Mode" button to exit Quick Mask mode.

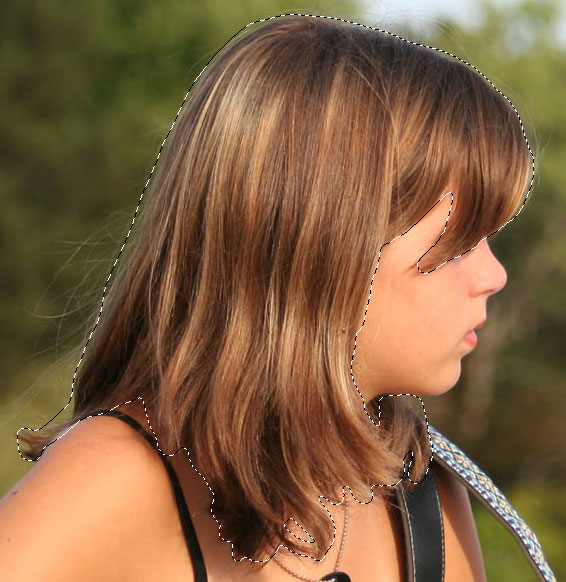
16. Goto Select > Inverse to invert the selection, so that only the hair is selected.
17. Make sure the "Black White" layer is selected. Then goto Image > Adjustments > Brightness/Contrast.


18. Adjust the Brightness and Contrast sliders until the hair looks like it is dark black.


19. Now select the "Make Up" layer.
20. Choose black from the swatches palette. Select the Paint Brush Tool and set the opacity of the brush to 20%.
21. Zoom into the eyes and begin shading around the eyes. Go over the edges of the eyes a number of times to give it a dark black eye-liner look. Be sure to give some lighter shading below the eyes.


22. Select the Smudge tool. Choose a very large brush size and set the opacity to 25%.
23. Now smudge the shading you did in step 20 so that it looks more natural
.


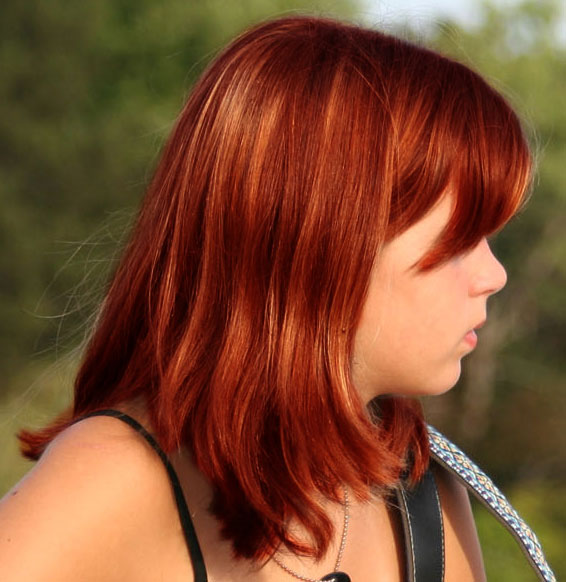
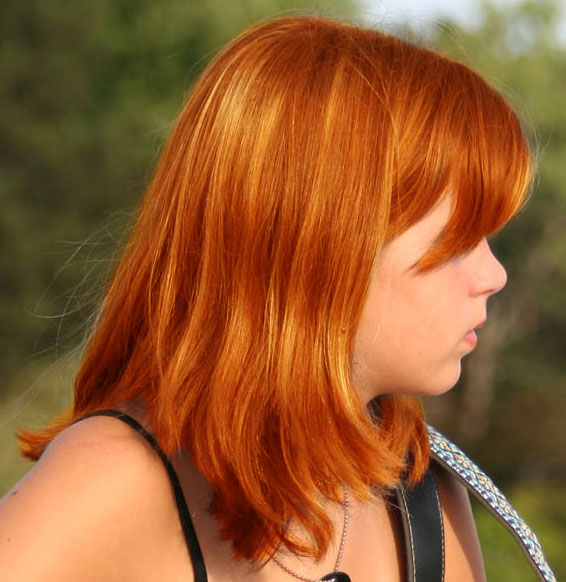
24. Finally, select the "Black White" layer. Goto Image > Adjustments > Color Balance and slightly tweak/slide the midtone red so that the skin has just a little bit of color. After this, you are done!

Change Hair Color In Photoshop

In this Photoshop tutorial, we're going to look at how simple and easy it is to change hair color in Photoshop by tinting and colorizing someone's hair in a photo. The technique we'll be learning here gives us complete control over what we're doing, with several different ways of fine-tuning the results, plus we can also go back any time we want and change the hair color without having to redo all the work! You can use this technique on photos of other people (friends, family, clients), or you can even use it on a photo of yourself to see how different hair colors would look on you!
Here's the image I'll be using for this Photoshop tutorial:

Adobe Photoshop Tutorial - Digital Photo Editing image
 
Photoshop Hair Color: The original image.
We're going to be giving her hair a brighter, slightly more reddish color to it in this tutorial, but you have complete control over the color you use with your image, as well as the intensity of the color. Here's how she'll look when we're done:

Adobe Photoshop Tutorial - Digital Photo Editing image
 
Photoshop Hair Color: The final result.
At the end of the tutorial, we'll see how easy it is to go back and change the color to something completely different. Let's get started!

Step 1: Add A "Hue/Saturation" Adjustment Layer

With our image open in Photoshop, click on the New Adjustment Layer icon at the bottom of the Layers palette (the circle split diagonally between black and white):

Adobe Photoshop Tutorial - Digital Photo Editing image
 
 
Photoshop Hair Color: Click on the "New Adjustment Layer" icon.
Then select Hue/Saturation from the list of adjustment layers that appears:

Adobe Photoshop Tutorial - Digital Photo Editing image
 
Photoshop Hair Color: Select a "Hue/Saturation" adjustment layer. 

Step 2: Select The "Colorize" Option

When the Hue/Saturation dialog box opens, select the Colorize option in the bottom right corner by clicking inside its checkbox:

Adobe Photoshop Tutorial - Digital Photo Editing image
 
Photoshop Hair Color: Select the "Colorize" option.
As soon as you select the Colorize option, you'll see your entire image become colorized with a shade of red.


Step 3: Select A New Color For The Hair

Drag the Hue slider left or right to select the color you want to use for the person's hair. For the moment, you'll be colorizing the entire image, but we'll fix that in the next couple of steps. Just ignore the rest of the image for now and focus only on the hair. Once you've found a color you like, adjust the intensity of the color by dragging the Saturation slider left or right. Dragging it to the right gives you a more saturated color, while dragging it to the left reduces the saturation.
Don't worry about getting the color and saturation perfect because you can always go back and change it quite easily later. I'm going to set my Hue amount to about 9 and increase the Saturation to around 45 for now:
Adobe Photoshop Tutorial - Digital Photo Editing image
 
Photoshop Hair Color: Use the Hue slider to select a new color for the hair and adjust the intensity of the color with the Saturation slider.
Click OK when you're done to exit out of the dialog box. The woman's hair now appears colorized in red, but so is the rest of her:
Adobe Photoshop Tutorial - Digital Photo Editing image

Change Hair Color

Open the image that you will use for the change of color.

Change color hair: photoshop tutorial 01

Take a soft edges brush agreed to the size of your image.

Change color hair: photoshop tutorial 02
Press the "Q" key to enter in quick mask mode. Mark all the hair area, if you have problems and you go in wrong some areas use the eraser to correct.

Change color hair: photoshop tutorial 03
Change color hair: photoshop tutorial 3b

Press again “Q” to leave the quick mask mode.
Now we have a selection around the hair, but we need is the selection in the hair, reason why it is necessary to invest the selection: Selection > Invest.

Change color hair: photoshop tutorial 04

Now it is necessary to dye the area of the selection.This we do it with a New Fill Layer. Layer > New Fill Layer > Solid Color. Appears the basic properties of the new fill layer. Change the mode to Soft Light and if you want change the name. Click Ok.

Change color hair: photoshop tutorial 05

Then use the color picker to select the hair color. Try some of them.

Change color hair: photoshop tutorial 06

Here some examples:

Change color hair: photoshop tutorial 07
Change color hair: photoshop tutorial 08
Change color hair: photoshop tutorial 09

HOW TO DIGITALLY PAINT LIP GLOSS WITH A TABLET

Post Teaser Image

This tutorial demonstrates how to use digital painting with a drawing tablet to create the illusion of lip gloss on bare lips. I use this technique frequently for retouching, and it’s a great digital painting exercise too!

Final Image Preview


Assets

This photo is from nokomai on stock.xchng. If you’d like to work with the original file, it’s located here. For this tutorial, I’ll be zooming in on the lips to show you the process.


Plumping the Lips


The sheen of lip gloss often gives the impression of plumper lips. To support this illusion, we’ll start by using the Liquify tool (Filter » Liquify). I set my brush size to 195px and select the Bloat tool from the left-hand menu in the dialog window. Then I single-click appoximately five times along the horizontal center of her her lower lip:


The result:


Colorizing the Lips

Colorizing the lips will help them appear moist and as if she is wearing a tinted gloss. I turn on size jitter (refer to my post on digital painting pressure settings if you’re not sure how), select a 30px brush, and pick a light red color (#c83a3a). I create a new layer and roughly paint over the lips.


To blend the color in, I set the Blend Mode for that layer to Soft Light. I also set the layer opacity to 50%.


Finally, I clean up the rough edges with a 100px eraser on 0% hardness. Since the eraser is so large, the edges are very soft—great for subtle blending. I carefully use the soft edge to erase the hard edges of the color. Notice the difference on the far left, far right, and bottom areas of the lips.


Adding Shine

This is the trickiest part!
Before I do anything else, I look at the lips and judge where my light source is. In this case, it appears to be coming from the top left, so I will paint my shine accordingly. If you’re unsure, it’s useful to have reference images.
When light hits a thin coat of lip gloss, it will catch all the little lines in the lips. Our first step is to highlight the more obvious of these lines.
To do so, I set my brush to 5px, white, with size jitter on. I use a series of short, up-and-down strokes to achieve a ‘tapered’ effect. So, for the below stroke, I brush up and down a few times until the middle is the desired thickness, then ‘flick’ my stylus upward so that it will taper on top. I repeat this to taper it on the bottom, too.


With one stroke complete, I proceed to add more strokes. Look for obvious creases in the lips, then place a stroke on the side of it that’s opposite that of your light source.


Next, I begin adding blocks of shine. These will be largest where the light is hitting, then become less obvious as you move away from the light source. I use a consistent up-and-down motion with a light touch to paint these blocks.


As you move away from the light source, the lighting will be less defined. To create a more scattered effect, I just began ‘dotting’ the color instead of painting in strokes.


Here I add some additional sheen on the upper lip. Again, the detail comes from simply ‘dotting’ color and using small, up-and-down strokes.


I reduce the opacity of my shine layer to 80%.


To add an additional reflection from non-direct light, I increase my brush size to 9px and keep the size jitter on. I create a new layer and reduce the opacity to 40%.
In the above image, you can see the natural grooves of the lips as they meet the area where her lips part. These will guide the shape you form.
Using small, circular strokes, I create a shape that is much more general than our first shine. The circular strokes should be most obvious near the grooves in the lips, where small Vs are formed atop the grooves and in-between your circle-strokes. (See image below.) The shape should generally cover any area that you included light, and taper off as it approaches the left and right sides of the mouth.


I use the same technique to add sheen to the top lip.


I reduce the opacity of the layer to 20%.


Final Image

Here’s our final image:


I hope you find this tutorial helpful! If you have any questions, feel free to leave them in the comments.

Web Stats

AddFreeStats.com Free Web Stats!Web Stats
Twitter Delicious Facebook Digg Stumbleupon Favorites More