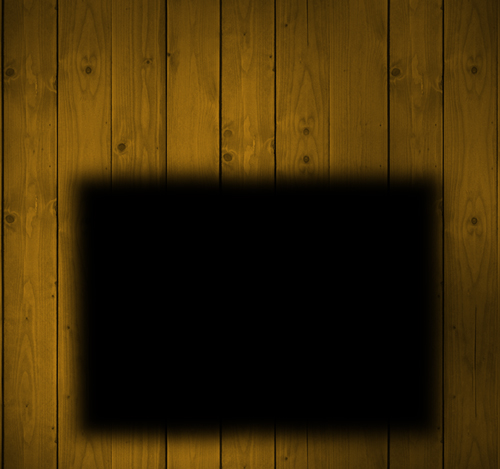
Open a new document with the following size: 960 x 900 pixels
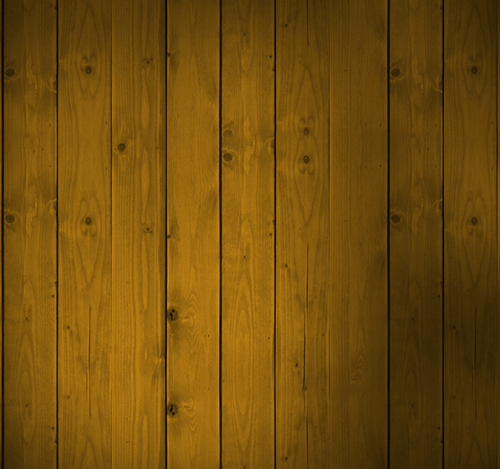
Now go to Grafplus.com and download the following texture:
Place the texture on your layout
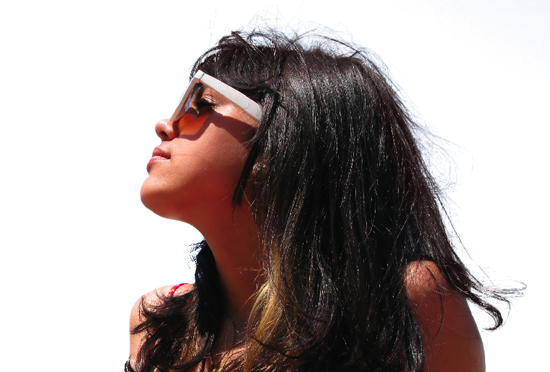
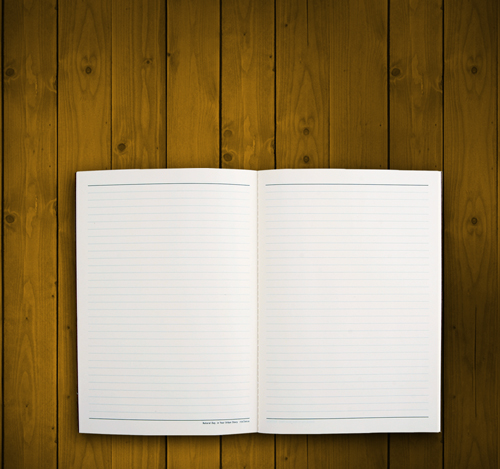
Over this great wood texture I will place a stock image with a notebook
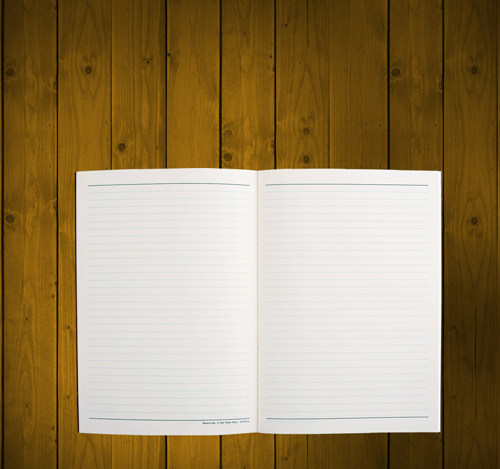
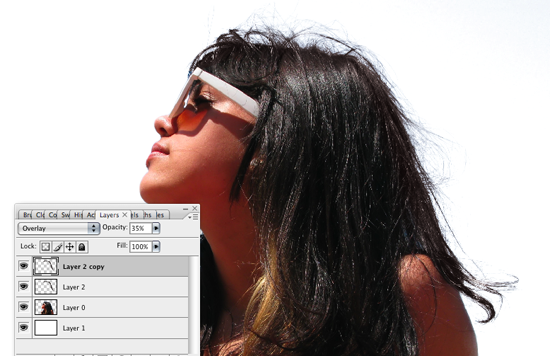
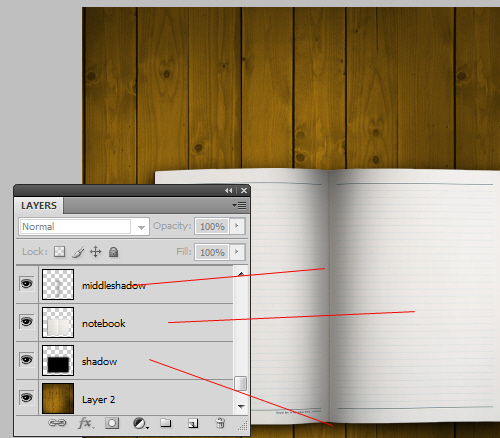
I will create a new layer under this notebook, and with Brush Tool I will create a shadow
I will create another layer above the notebook layer, and one more time with Brush Tool I will add a shadow in the middle of my notebook
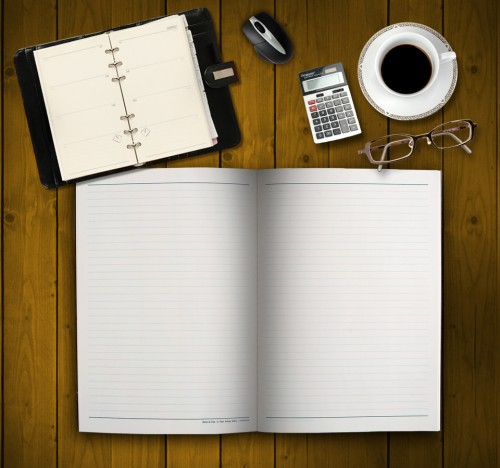
On the header of this layout I will add some images with a moleskine notebook, a cup of coffee, a pocket calculator, and a pair of glasses
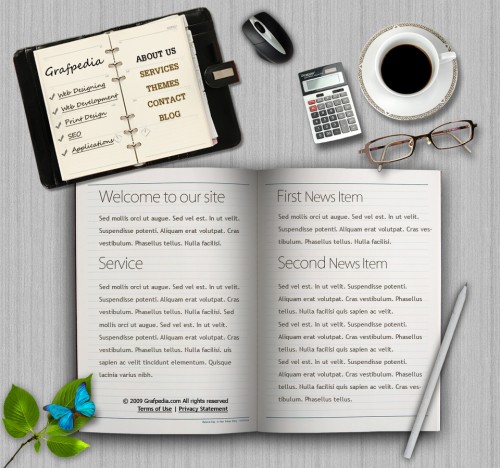
Please click on the following image to see the full size layout
Over the Moleskine notebook I will write some text with Horizontal Type Tool. Then I will press on CTRL+T and I will rotate the text until it will look like in the following image
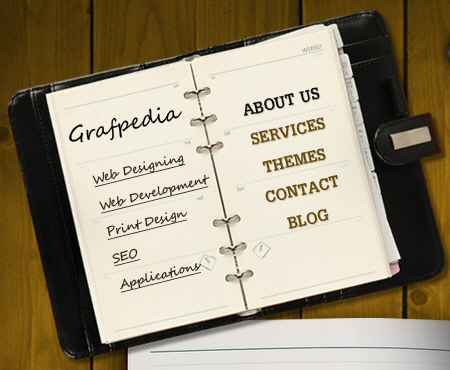
I have used the following fonts: Segoe Script on the left side and Dillenia UPC on the right side. You can use any font you like
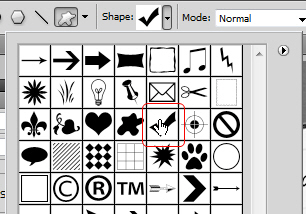
Then I will place some check marks near the text. I have used Custom Shape Tool to place those check marks
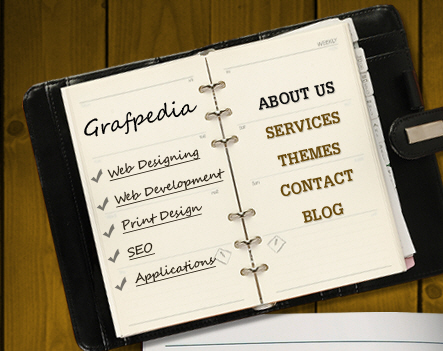
This is my result
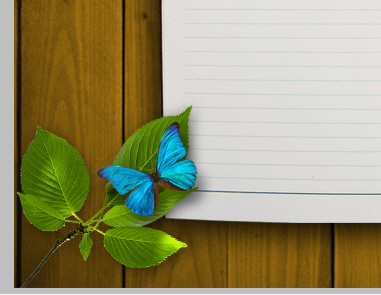
I will continue to add more stock images. On the bottom I will add a nice leaf, and a butterfly
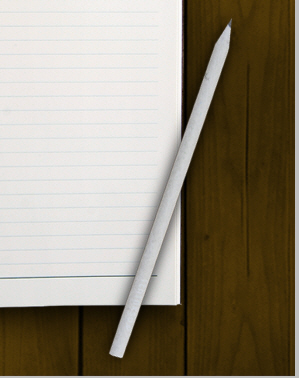
And on the right side I will add a nice pencil
I will add some text on the notebook

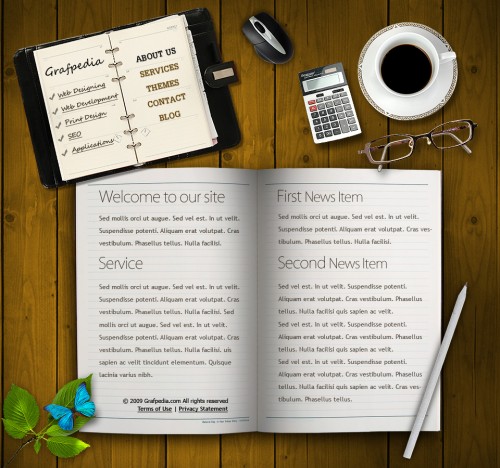
You can place one of the texture you like most on your document, then go to Image > adjustments > desaturate. As you can see another texture will transform this layout very much
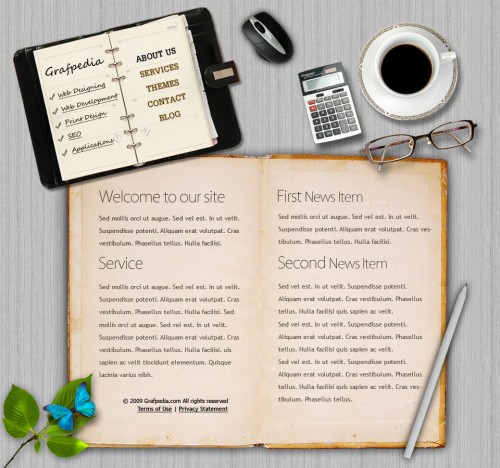
Now I will add also another stock image with an old notebook
Download this PSD layout and you will be able to play with the settings. This is my final PSD layout
Now go to Grafplus.com and download the following texture:
Place the texture on your layout
Over this great wood texture I will place a stock image with a notebook
I will create a new layer under this notebook, and with Brush Tool I will create a shadow
I will create another layer above the notebook layer, and one more time with Brush Tool I will add a shadow in the middle of my notebook
On the header of this layout I will add some images with a moleskine notebook, a cup of coffee, a pocket calculator, and a pair of glasses
Please click on the following image to see the full size layout
Over the Moleskine notebook I will write some text with Horizontal Type Tool. Then I will press on CTRL+T and I will rotate the text until it will look like in the following image
I have used the following fonts: Segoe Script on the left side and Dillenia UPC on the right side. You can use any font you like
Then I will place some check marks near the text. I have used Custom Shape Tool to place those check marks
This is my result
I will continue to add more stock images. On the bottom I will add a nice leaf, and a butterfly
And on the right side I will add a nice pencil
I will add some text on the notebook
You can place one of the texture you like most on your document, then go to Image > adjustments > desaturate. As you can see another texture will transform this layout very much
Now I will add also another stock image with an old notebook
Download this PSD layout and you will be able to play with the settings. This is my final PSD layout