Open a new document with the following size: 960 x 900 pixels
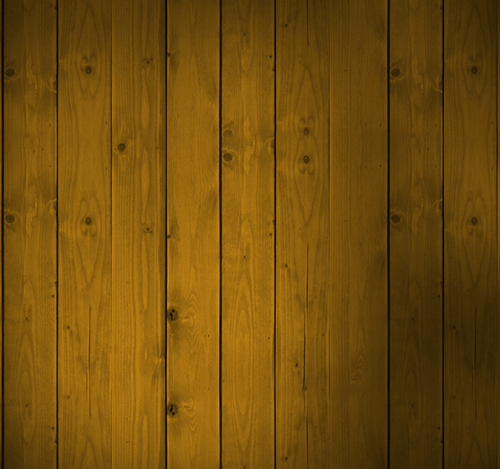
Now go to Grafplus.com and download the following texture:
Place the texture on your layout
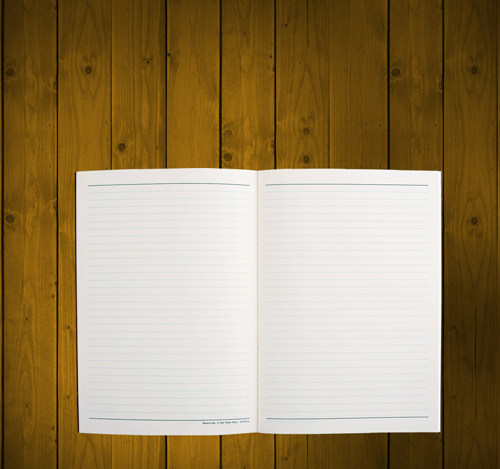
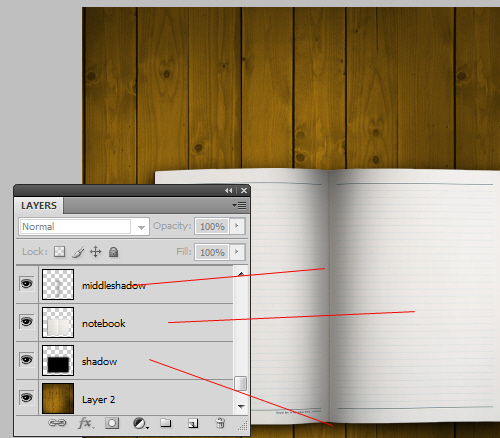
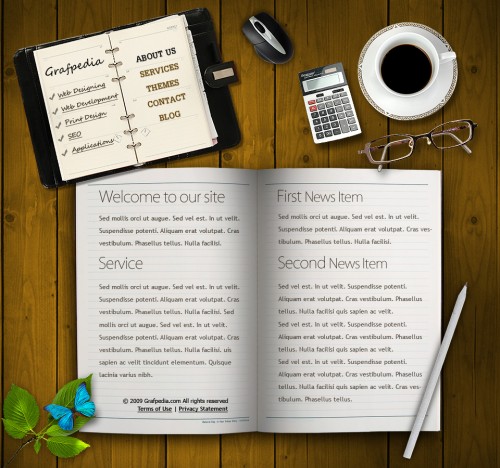
Over this great wood texture I will place a stock image with a notebook
I will create a new layer under this notebook, and with Brush Tool I will create a shadow
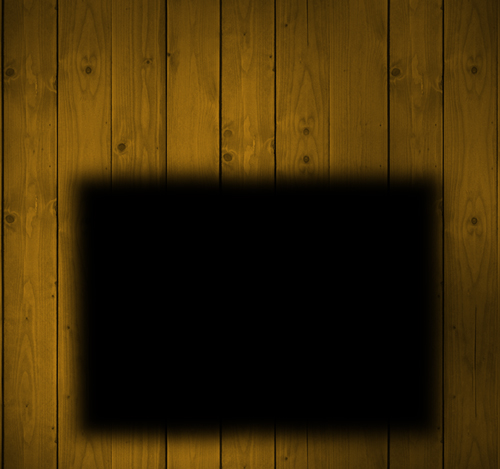
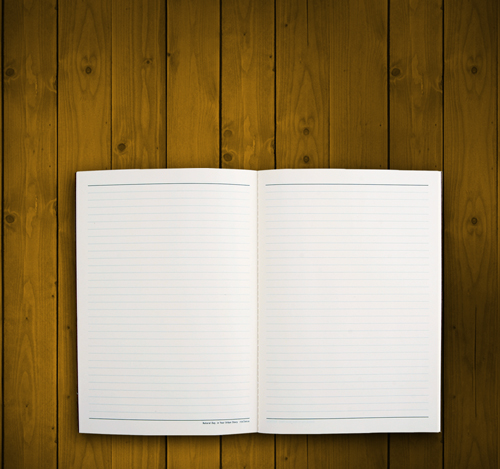
I will create another layer above the notebook layer, and one more
time with Brush Tool I will add a shadow in the middle of my notebook
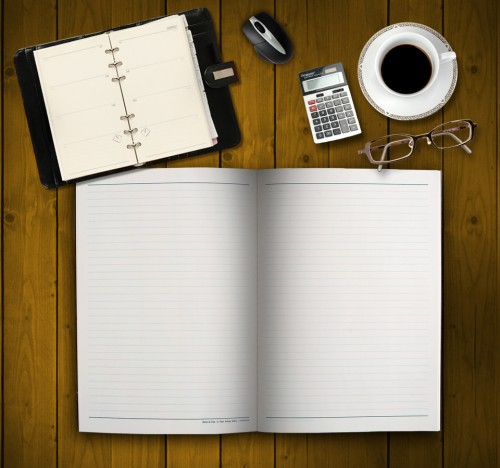
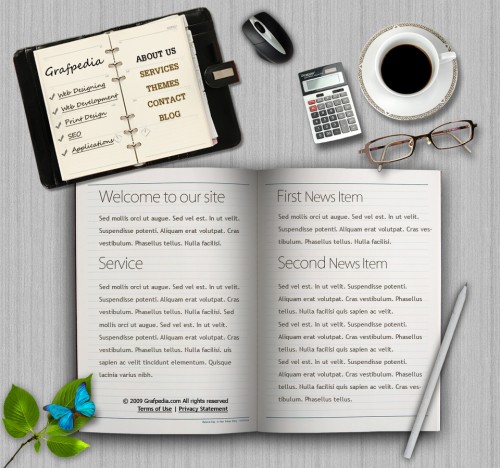
On the header of this layout I will add some images with a moleskine
notebook, a cup of coffee, a pocket calculator, and a pair of glasses
Please click on the following image to see the full size layout
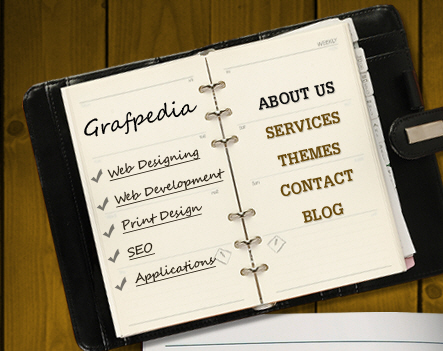
Over the Moleskine notebook I will write some text with Horizontal
Type Tool. Then I will press on CTRL+T and I will rotate the text until
it will look like in the following image

I have used the following fonts: Segoe Script on the left side and Dillenia UPC on the right side. You can use any font you like
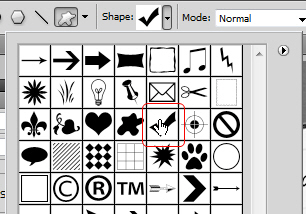
Then I will place some check marks near the text. I have used Custom Shape Tool to place those check marks
This is my result
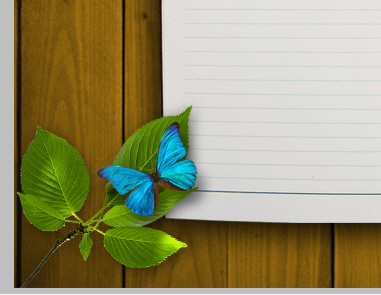
I will continue to add more stock images. On the bottom I will add a nice leaf, and a butterfly
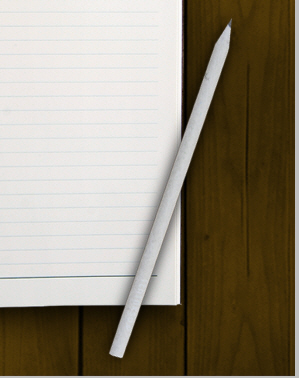
And on the right side I will add a nice pencil
I will add some text on the notebook

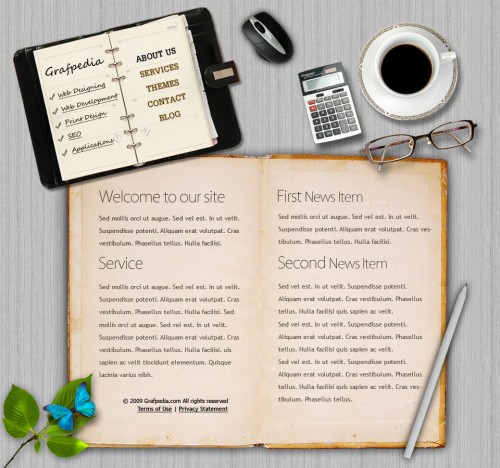
You can place one of the texture you like most on your document, then
go to Image > adjustments > desaturate. As you can see another
texture will transform this layout very much
Now I will add also another stock image with an old notebook
Download this PSD layout and you will be able to play with the settings. This is my final PSD layout


0 comments:
Post a Comment